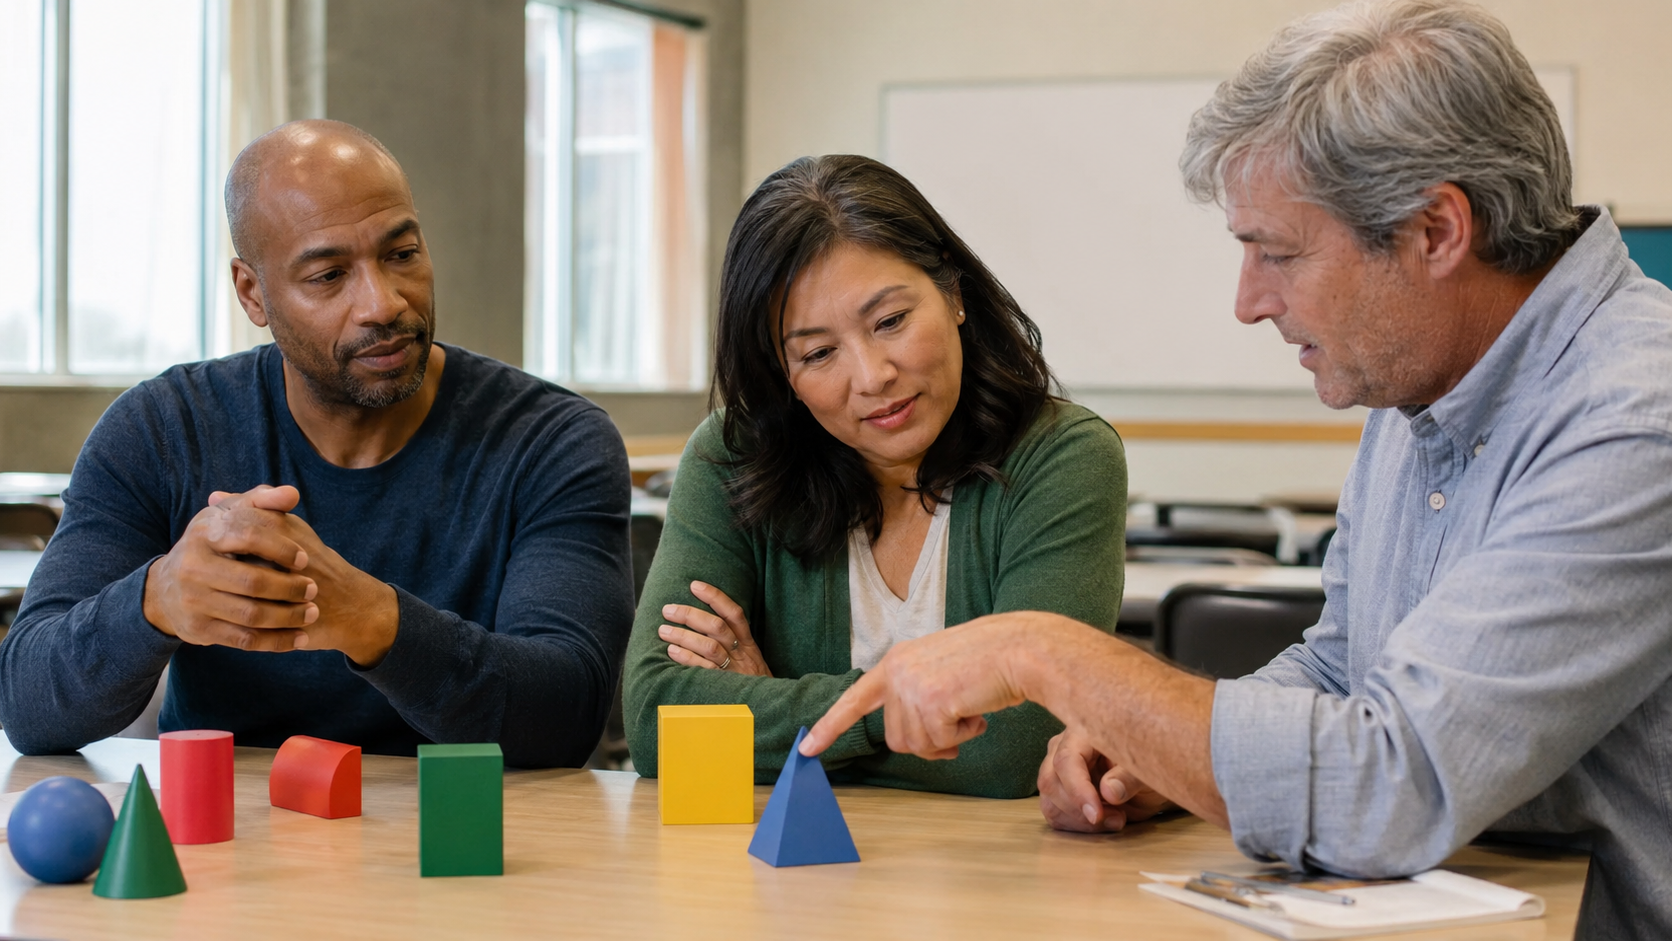
A teacher says, “This part is important,” while standing beside a diagram. From the teacher’s position, the intended part is obvious. From a student’s seat, “this” might refer to a label, a line, a shaded region, or the whole diagram.
Pointing can close that gap. A clear gesture connects the spoken reference to a visible object. It helps establish that teacher and learner are considering the same thing at the same time. That makes pointing a useful teaching tool, especially when an explanation moves among parts of a diagram, worked example, or physical object.
But directing a student’s gaze is not the same as teaching the idea. A learner can look at the correct symbol and still misunderstand its function. Pointing helps when it supports an explanation and a learning activity. It becomes less useful when it substitutes for either.
Pointing answers a location question
Imagine a hypothetical lesson about fractions using a rectangle divided into equal sections. The teacher says, “The denominator tells us how many equal parts make up the whole,” while indicating the denominator and then the whole divided rectangle. The gesture connects a written symbol to the feature it represents.
Without that connection, a learner may watch the teacher’s face, inspect the shaded part, or focus on the numerator. None of those choices is unreasonable. The learner may simply not know which part of the display the sentence refers to.
A useful point resolves that uncertainty. The teacher still needs to explain what counts as a whole, why the parts must be equal, and how the notation expresses the relationship.
Different hand movements have different jobs
Not every gesture identifies a referent. A rhythmic hand movement may emphasize the cadence of speech. A gesture tracing a curve may represent the shape of a path. A finger directed at a label identifies something already visible.
These distinctions matter when interpreting research. Beege and colleagues’ study, Investigating the effects of beat and deictic gestures of a lecturer in educational videos, compared gesture types. Its reported findings favored pointing gestures over beat gestures for learning outcomes in the studied setting.
The result supports taking the function of a gesture seriously. It does not establish that teachers should point constantly or that the same effect will occur with every age group, subject, or lesson format. The recommendations below are practical applications to consider and test with your own material.
Coordinate the gesture with the words
Point to the relevant object as you name it or explain its role. If your hand moves ahead of the sentence, students may inspect the next step while you are still explaining the previous one. If the gesture arrives late, they have already spent time searching.
A useful sequence is to name the object, indicate it clearly, explain the relationship, and then release the cue. The sequence should sound natural rather than mechanical. What matters is that the spoken and visible references agree.
In a worked example, you might say, “This value is the starting amount,” while pointing to it, and then, “We add the same increase here,” while indicating the operation. Avoid saying “this goes here” repeatedly without naming anything. The lesson should remain understandable to someone who cannot see the gesture.
Keep the target visible while pointing
A hand can hide the very detail it is meant to clarify. This is common with small text, a crowded board, or a camera positioned behind the instructor. Stand or sit so that students can see both the gesture and its endpoint.
For a physical demonstration, check the view from the learners’ positions. A small movement near your body may be invisible across the room. If several students must lean sideways to see the object, rearrange the demonstration before adding more explanation.
In a video lesson, inspect the recording at the size students will actually use. A fingertip that appears precise on a large editing monitor may cover several items on a phone. A prepared highlight or enlarged detail can be clearer than a hand in that situation.
Point to relationships as well as objects
Many difficult ideas involve a relationship between two things. A student may recognize each part without understanding how they connect. You can use gestures to make that connection explicit, but the accompanying language must explain its meaning.
For example, in a hypothetical map-reading lesson, indicate a symbol in the legend and then its matching symbol on the map. Say that the legend explains what the map symbol represents. Simply tapping both places may be insufficient for a beginner who does not yet understand the purpose of a legend.
Similarly, when comparing two examples, identify the corresponding feature in each. Keep the examples visible together when the comparison requires it. If students must remember one display while searching another, the gesture alone may not provide enough support.
Use pointing to reduce search, not to excuse clutter
A crowded slide may tempt an instructor to point continuously. That can help students survive the display, but it leaves the underlying problem in place. They still face the crowded material when reviewing it later without the teacher.
First remove material that does not serve the current learning goal, enlarge the relevant example, and place related information close enough to compare. Then add a gesture where students might still need guidance. The aim is to make a good explanation easier to follow.
Our guide to explaining difficult ideas without oversimplifying them shows how to simplify the route into an idea while preserving the distinctions learners need.
Ask learners to explain the indicated feature
After pointing has helped establish the reference, check the meaning. Ask what the indicated part does, why it matters, or what would change if it were different. These questions reveal more than asking whether everyone can see it.
In the fraction example, you could show a different partition and ask why it does or does not represent equal parts. In a software lesson, you could ask which control a learner would choose for a new task and why. The question should require the concept rather than the memory of where your finger was.
You can also invite students to point while explaining. Their chosen target may reveal an interpretation you did not expect. Treat that response as information for the next explanation, not as a reason to rush them toward the correct spot.
Make the lesson usable without the gesture
Gestures are temporary. Notes, audio recordings, transcripts, and some accessible formats may not preserve them. Name the objects and describe the important spatial relationships in words. “The label beneath the left-hand image” provides more usable information than “that one.”
Provide clearly labeled materials for later review. If an annotation carries essential meaning, include that meaning in the accompanying explanation. A learner should not need to reconstruct an invisible hand movement to understand a published lesson.
This also helps students who need more time. They can return to a stable reference after the live explanation has moved on.
Judge success by what students can do afterward
Pointing can make a lesson feel smoother because students find the relevant material more quickly. That is useful, but the larger question is whether they can explain or apply the idea afterward. Our article on checking students’ understanding offers practical ways to find out.
Try one small improvement in your next lesson: identify a moment where “this” or “here” might be ambiguous, pair a precise gesture with a concrete description, and follow it with a question about meaning. Pointing earns its place when it helps learners move from locating the right thing to understanding why it matters.